Ruler of the Office
Glenn Thomas came up with the main design and idea for the Ruler of the Office. The trigger system is an Espen-design. It relies heavily on our favourite office supply: The Mauly. It is easily assembled and uses Mauly 19 as preferred projectile, but other small objects will do. The trigger system makes this a pretty safe weapon when loaded or partially loaded (without the projectile).
Facts
| Velocity (average) | 20.2 m/s |
|---|---|
| Velocity (max) | 21.1 m/s |
| Range |
12.09 m (single Mauly 19) 8.29 m (double Mauly 19s) |
| CEP @ 3 m (50%) | 5.9 cm |
| CEP @ 3 m (100%) | 22.4 cm |
| Loading time | 16 s |
| Launcher |
Ruler Mauly 51 Mauly 19 Rubber band |
| Projectile | Mauly 19 (stripped) |
| Projectile weight |
1.6 g (single Mauly 19) 3.2 g (double Mauly 19) 2.6 g (single Mauly 19 with 2x Daxi Push Pins) |
Assembly
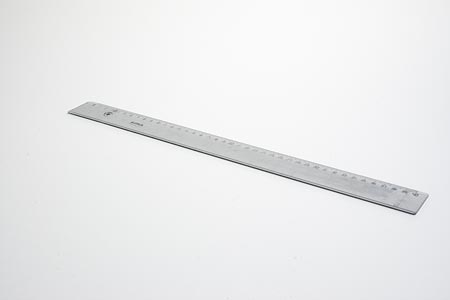 |
Start with a regular 40 cm ruler. |
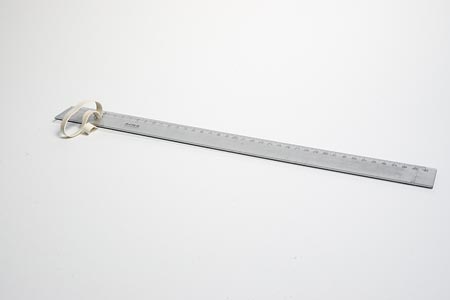 |
Put one end of the rubber band through the hole at the end of the ruler. |
 |
Remove one of the handles on the Mauly 51 and slide the handle through the rubber band loop. |
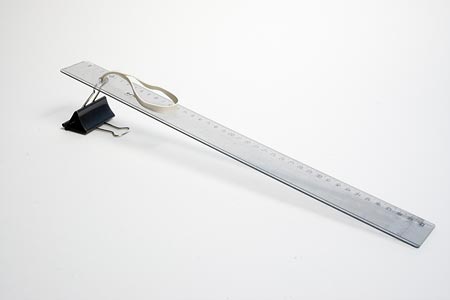 |
Reassemble the Mauly 51 and pull the rubber band until it is stopped by the handle. |
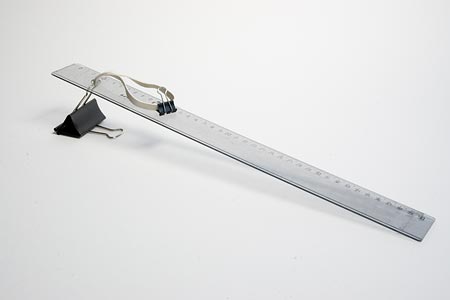 |
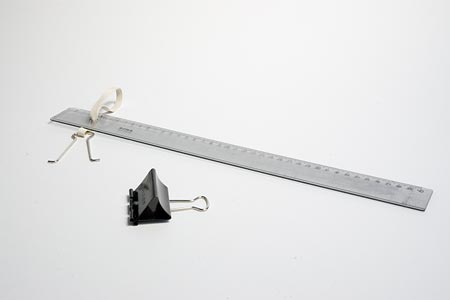
Put a Mauly 19 on the other end of the rubber band. The bottom should point towards the hole. |
 |
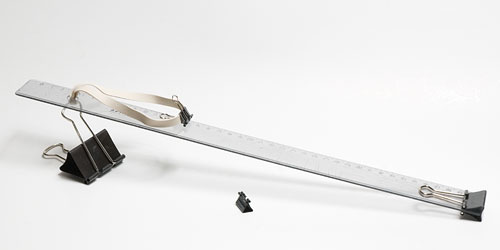
Attach a Mauly 32 at the end of the ruler with both handles along the ruler. |
Firing
 |
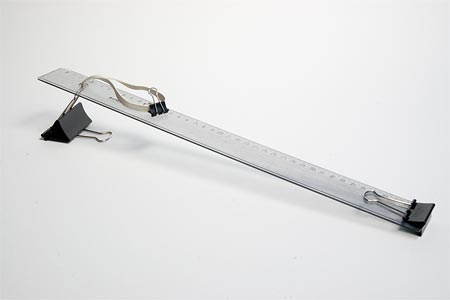
Pull the Mauly 19 attached to the rubber band back and lock it in cocked position using the Mauly 32 at the back of the ruler. |
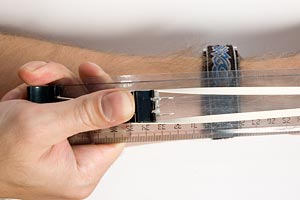 |
Remove the handles of a a Mauly 19 and insert it into the chamber to fully load the gun. Notice how the rubber band gently holds on to the sides of the projectile, enabling you to fire at a downward angle without losing the projectile.
Insert a pair of thumbtacks into the projectile, points forward. These do a lot more damage to the target. |
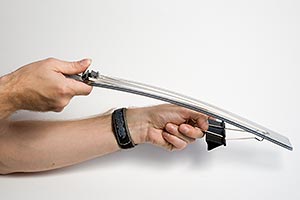 |
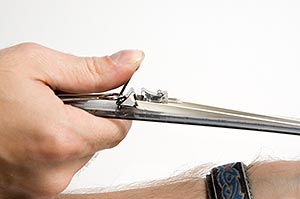
Take aim at the target and slightly pull down on the front of the ruler. This is to keep the projectile from entangling in the rubber band when firing. You have to practice a couple of shots before you find the correct angle for your weapon. Notice how the left hand is holding the Mauly 51 as far back as possible. Put the index finger into the middle of the Mauly 51 for stability. This is because the rubber band will flip round the front of the gun and it can be quite painful to be hit by a Mauly 19 over the fingers. |
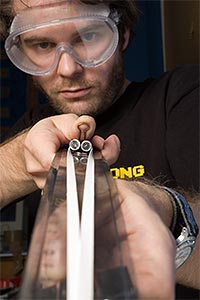 |
Look menacingly at your target. Laugh your best evil laugh and let go of the Mauly 32. The trigger system will release the Mauly 19, launching your projectile at your target. If aimed correctly, you will hear an outburst of pain shortly after. |
Use your thumb to keep the gun cocked but not loaded. From this position it is quick to put a Mauly 19 in the chamber.
| <- Super Maul | Advanced Guns | Cluster Maul -> |